
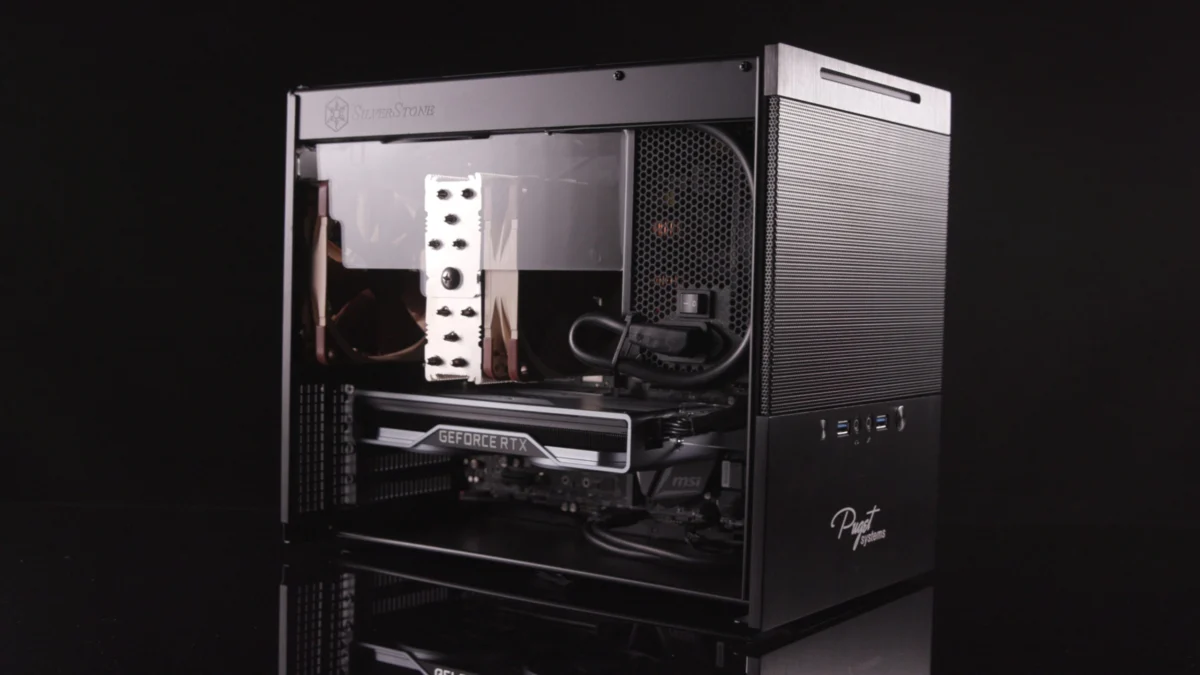
Adobe has consistently strived to enhance the speed and performance of Lightroom over the years. However, for many users, particularly those working with PC or Intel chipsets, Lightroom can still experience slowdowns. This article delves into ten essential tips designed to significantly boost Lightroom’s performance and streamline your editing workflow, all without requiring a costly hardware upgrade. Before embarking on these optimizations, it is crucial to ensure you are running the latest version of Lightroom, as updates often include performance enhancements.
Addressing Lightroom Performance Bottlenecks: A Comprehensive Guide
The pursuit of a fluid and efficient editing experience in Adobe Lightroom is a common endeavor for photographers worldwide. While the software has seen continuous development aimed at improving its responsiveness, persistent issues with slow performance, especially on Windows-based systems and older Intel processors, continue to be a point of frustration. This guide offers a detailed exploration of ten actionable strategies to optimize your Lightroom Classic setup, focusing on software configurations and workflow adjustments that can yield substantial performance gains.
It is imperative to preface these recommendations with a critical observation: the landscape of computer hardware has evolved, and for users experiencing persistent Lightroom slowness, a potential hardware-related factor has emerged. Apple’s introduction of its M-series chips has demonstrably improved Lightroom Classic’s performance. Anecdotal evidence and user reports suggest that Lightroom Classic operates with remarkable synergy on Apple Silicon, often resolving speed issues that plague other platforms. While this article aims to provide solutions applicable to all users, this hardware advantage warrants acknowledgment. Nevertheless, the focus here remains on maximizing performance through software and strategic adjustments, empowering users to achieve a more efficient editing environment regardless of their operating system.
Essential Optimizations for Immediate Performance Gains
The following initial set of tips are foundational practices that should be integrated into your regular Lightroom workflow. Implementing them will provide immediate improvements in editing efficiency.
Tip #1: Harnessing GPU Acceleration for Enhanced Processing
A fundamental yet frequently overlooked setting within Lightroom is the Graphics Processing Unit (GPU) acceleration. This feature allows Lightroom to offload certain intensive tasks, such as image rendering and manipulation, to your graphics card, thereby freeing up your CPU and RAM.
To enable and optimize GPU acceleration:

- Navigate to Lightroom’s Preferences by pressing
Ctrl + ,(Windows) orCmd + ,(macOS). - Select the "Performance" tab.
- Under the "Use Graphics Processor" dropdown menu, change the setting from "Auto" to "Custom." This ensures you have explicit control over how your GPU is utilized.
- Crucially, toggle the checkbox that reads "Use GPU for image processing." Upon activation, a confirmation message should appear, indicating that "Full graphics acceleration is enabled."
- To verify compatibility, click the "Learn More" button. This will direct you to Adobe’s support page, where you can confirm if your graphics card is officially supported and check for any known issues or recommendations.
Important Note: Before enabling GPU acceleration, it is highly recommended to update your graphics card drivers to the latest available version. Outdated drivers can lead to instability and performance degradation, negating the benefits of GPU acceleration. Manufacturers like NVIDIA, AMD, and Intel regularly release driver updates that include performance optimizations and bug fixes. Checking your system’s device manager or the manufacturer’s website for the most recent drivers is a prudent step.
Tip #2: Strategic Storage: The Nexus of Catalog and Image Performance
The physical location and speed of your storage drives play a pivotal role in Lightroom’s overall responsiveness. For optimal performance, Lightroom Classic’s catalog file and the images it references should reside on the fastest available internal drive.
- The SSD/NVMe Advantage: Solid State Drives (SSDs) and Non-Volatile Memory Express (NVMe) drives offer significantly faster read and write speeds compared to traditional Hard Disk Drives (HDDs). Housing your Lightroom catalog and actively worked-on image files on an SSD or NVMe drive will drastically reduce loading times and improve the speed at which edits are applied and previews are generated.
- External Drive Considerations: If you utilize external SSDs, ensure they are connected via your fastest available port, typically USB-C or Thunderbolt. Older USB standards will create a bottleneck, diminishing the performance benefits of the SSD itself.
- The NAS Conundrum: Network Attached Storage (NAS) devices, while convenient for large-scale storage, often introduce latency due to network speeds. If your primary workflow involves frequent edits and catalog access from a NAS, it is a significant performance impediment. Relocating your active catalog and recent images to an internal SSD will likely resolve the majority of speed issues for users experiencing slow performance with NAS setups.
Workflow Best Practice: To further enhance organization and performance, it is advisable to create a dedicated folder for each client shoot. Within this folder, store both the Lightroom catalog (.lrcat file) and the original image files. This localized approach minimizes the need for Lightroom to traverse complex directory structures, contributing to faster access and management. A typical setup for photographers working with active projects might involve a 2TB internal SSD dedicated to current projects, including catalog files and raw images.
Tip #3: Optimizing the Raw Cache for Expedited Previews
The Raw Cache is a critical component of Lightroom’s performance, storing rendered previews of your Raw files. A well-configured Raw Cache can significantly speed up the navigation and editing of your images.
To configure the Raw Cache:
- Access Lightroom’s Preferences (
Ctrl + ,orCmd + ,). - Navigate to the "Performance" tab.
- Locate the "Camera Raw Cache Settings" section.
- Drive Selection: For the "File Location," select your fastest internal drive. This should ideally be the same drive where your catalogs are stored.
- Maximum Size: Increase the "Maximum Size" of the cache to at least 100GB. This ample space ensures that Lightroom has sufficient room to store a comprehensive set of previews and cache files, reducing the need to re-render them frequently. The optimal size may vary depending on the volume and resolution of your typical image files.
By allocating sufficient space on a fast drive for the Raw Cache, you enable Lightroom to quickly access and display image previews, a process that is fundamental to a smooth editing experience.
Tip #4: Pre-Rendering Previews: The Foundation for Efficient Culling and Editing
The process of generating previews is essential for Lightroom to display your images efficiently. Rendering these previews before you begin culling (selecting images) or editing can dramatically improve your workflow.

- During Import: While previews can be generated during the import process, creating 1:1 previews can be time-consuming.
- Post-Import Rendering: An alternative and often more manageable approach is to import your images and then, from the Library module, navigate to
Library > Previews > Render 1:1 PreviewsandLibrary > Previews > Render Smart Previews. Rendering 1:1 previews provides the highest level of detail for rapid review, while Smart Previews offer a smaller, proxy file that allows for editing even when the original files are offline, and they significantly speed up the Develop module.
Prioritizing preview generation ensures that when you navigate through your library or move to the Develop module, Lightroom has readily available, high-quality previews, minimizing lag and stuttering.
Advanced Techniques for Further Performance Enhancement
The following tips delve into more specific configurations and workflow adjustments that can yield further performance improvements, particularly for users who have already implemented the foundational optimizations.
Tip #5: Leveraging Smart Previews for Accelerated Editing
Smart Previews are a powerful tool within Lightroom that can significantly boost editing performance, especially when working with large or complex files, or when on the go with less powerful hardware.
To enable Smart Preview usage during editing:
- Return to the "Performance" tab within Lightroom’s Preferences (
Ctrl + ,orCmd + ,). - In the "Develop" section, locate and toggle the checkbox that reads "Use Smart Previews instead of Originals for image editing."
When this setting is active, Lightroom will utilize the smaller, compressed Smart Preview files when you are working in the Develop module. This dramatically reduces the processing load, leading to quicker application of adjustments and faster image-to-image transitions. It’s important to note that while the visual quality in the Develop module might appear slightly reduced due to the proxy nature of Smart Previews, the final exported images will always be rendered from your original Raw files at their full resolution and quality. This makes Smart Previews an ideal solution for accelerating the editing process without compromising final output.
Tip #6: Fine-Tuning Standard Preview Resolution
Lightroom’s default settings for standard preview resolution are often set higher than necessary for most display configurations. Reducing this resolution can lead to noticeable performance gains.
To adjust standard preview size:

- Access your Catalog Settings by pressing
Alt + Ctrl + ,(Windows) orOpt + Cmd + ,(macOS). - Select the "File Handling" tab.
- Within this tab, you will find the "Standard Preview Size" setting. Lightroom’s default can be quite high, often exceeding what is needed for typical monitor resolutions.
- Reduce the "Standard Preview Size" to a resolution that closely matches your monitor’s native resolution, or slightly lower. For many users, a setting of 1680 pixels is sufficient.
It is important to remember that these are catalog-specific settings. If you manage multiple Lightroom catalogs, you will need to adjust this setting individually for each catalog. By ensuring previews are not rendered at an unnecessarily high resolution, you reduce the processing overhead and storage requirements for these preview files.
Tip #7: The XMP Debate: Disabling Automatic Writes for Performance
The "Automatically write changes into XMP" setting in Lightroom is designed to create a backup of your editing adjustments in sidecar (.xmp) files, alongside the catalog. While this offers a form of redundancy, it can significantly impact performance.
To disable automatic XMP writes:
- Open your Catalog Settings (
Alt + Ctrl + ,orOpt + Cmd + ,). - Navigate to the "Metadata" tab.
- Deselect the checkbox labeled "Automatically write changes into XMP."
When this option is enabled, Lightroom writes every adjustment to both the catalog and an external XMP file. This doubles the read/write operations on your storage drive, which can be a substantial performance drain, especially on slower drives. While XMP files can serve as a backup if your catalog becomes corrupted, regular catalog backups (a feature within Lightroom’s catalog management) provide a more efficient and integrated solution. Unless you have a specific workflow that necessitates the immediate creation of XMP sidecar files (e.g., integrating with other non-Lightroom software), disabling this feature is highly recommended for a performance boost.
Tip #8: Streamlining with Disabled Face Detection
Face detection is an AI-powered feature that scans your library to identify and group faces. While useful for organizing portrait sessions, it is a computationally intensive process that can consume significant CPU resources.
To disable automatic face detection:
- Access your Catalog Settings (
Alt + Ctrl + ,orOpt + Cmd + ,). - Navigate to the "Metadata" tab.
- Locate the "Face Detection" section towards the bottom of the dialog box.
- Deselect the option for automatic face detection.
By turning off automatic face detection, you free up your CPU to focus on other critical editing tasks. You can always manually initiate face detection on specific folders or collections when needed, ensuring the feature is utilized only when it serves a direct purpose in your workflow.

Tip #9: Catalog Segmentation for Large Libraries
For photographers who manage extensive libraries, particularly those working with portrait, event, or wedding photography, segmenting your work into individual catalogs can be a game-changer for performance and organization.
- The Problem of Overload: In older versions of Lightroom, and even in later ones to some extent, a single catalog containing tens of thousands of images can lead to significant slowdowns. While newer versions handle larger catalogs more gracefully, breaking down your library remains a sound strategy.
- Benefits of Smaller Catalogs:
- Improved Speed: Smaller, more focused catalogs are inherently faster to load, navigate, and process.
- Easier Archiving and Transfer: Catalogs stored alongside their respective image folders simplify the process of archiving or transferring entire shoots over a network.
- Multi-Editor Workflows: For studios with multiple editors, separate catalogs allow each editor to work on different projects simultaneously without interference.
- Organizational Clarity: Each catalog can be named according to the client or project, providing a clear and organized system.
Platform Discrepancy: It is worth noting that, anecdotally, Lightroom catalogs on macOS with Apple Silicon appear to tolerate much larger file sizes before experiencing significant performance degradation compared to their Windows counterparts. However, the benefits of catalog segmentation often outweigh this difference.
This approach is a workflow decision, and its effectiveness will depend on your specific needs and how you prefer to manage your projects.
Tip #10: Hardware Considerations: The Last Resort for Performance Enhancement
If, after implementing all the software and workflow optimizations, you still find Lightroom sluggish, it may be time to consider hardware upgrades. However, the focus should be on components that directly impact Lightroom’s performance.
-
CPU (Central Processing Unit): For Lightroom, higher clock speed is generally more beneficial than a higher core count. Lightroom is not heavily optimized to utilize a large number of CPU cores. Therefore, a CPU with fewer cores but a higher clock speed will often provide better performance than one with many cores but a lower clock speed. When considering new hardware, prioritize CPUs known for their strong single-core performance.
- Apple Silicon Recommendation: As previously mentioned, if you are in a position to upgrade, Apple’s M-series chips offer an exceptional editing experience with Lightroom Classic due to their integrated architecture and efficient processing capabilities.
-
Hard Drive: This cannot be overstated. The speed of your storage is paramount.
- Internal SSD/NVMe: The fastest possible internal drive, ideally an SSD or NVMe, is crucial for housing your Lightroom catalog and active image files. This allows for rapid reading and writing of catalog data, cache files, and previews.
- External Drive Caution: Avoid using external HDDs or even slower external SSDs connected via older USB standards for your active catalog and primary working files. These will invariably create bottlenecks and lead to a sluggish experience.
-
GPU (Graphics Processing Unit): A capable GPU is essential for hardware-accelerated tasks.

- Full Acceleration: Ensure your GPU supports full acceleration for image processing within Lightroom. When building or upgrading a PC, consulting resources from reputable benchmarking services like Puget Systems can provide valuable insights into GPU performance for creative applications.
- Integrated Solutions: For users preferring a macOS environment, the iMac Pro or newer Mac Studio models equipped with powerful integrated graphics and Apple Silicon offer robust performance out of the box.
Further Resources and Continued Learning
The tips provided in this guide are designed to empower photographers to take control of their Lightroom performance. By systematically applying these strategies, users can significantly improve their editing workflow and reduce frustration.
For those seeking a deeper understanding of Lightroom and its capabilities, consider exploring comprehensive educational resources. The upcoming "Lightroom Fundamentals Course" on SLR Lounge Premium aims to provide an in-depth, A-Z guide to mastering RAW processing within Adobe Lightroom. Such courses often delve into advanced techniques, workflow strategies, and lesser-known features that can further enhance efficiency and creative output. By staying informed and continually refining your workflow, you can ensure your editing software works for you, not against you.