









Climbers have long maintained a tradition of innovation, dating back to the sport’s mid-20th-century origins when gear was sparse and necessity demanded creativity. From the early days of garage-hammered pitons and improvised swami-belt harnesses to the modern era of high-tech composites, the evolution of climbing equipment has been defined by a constant tension between performance and cost. As retail prices for specialized technical gear continue to climb, a growing segment of the climbing community is revisiting the practice of fabricating their own accessories. While the industry consensus—and common sense—dictate that life-critical hardware like cams, chocks, and carabiners must remain the domain of certified manufacturers, there exists a legitimate niche for DIY solutions for peripheral gear. By repurposing hardware store materials, savvy climbers are finding ways to maintain, protect, and augment their setups while saving hundreds of dollars annually.
A recent evaluation of common climbing accessories reveals that a significant portion of a climber’s budget is often diverted toward simple, non-structural items. By shifting the focus away from load-bearing hardware and toward accessory management, it is possible to achieve substantial cost savings without compromising safety. A series of DIY projects conducted this month demonstrated that through a combination of ingenuity and basic hardware store supplies, a climber could fabricate five common crag accessories for a total cost of approximately $44, compared to a retail market value of over $225.
The Evolution of Climbing Hardware and the DIY Ethos
The history of climbing gear is a chronicle of rapid technological advancement. In the 1950s and 60s, pioneers like Yvon Chouinard began hand-forging their own pitons, effectively revolutionizing the sport’s safety margins. However, as the sport transitioned into a regulated industry, the shift toward mass-produced, UIAA-certified equipment became the standard for good reason. Modern engineering standards, such as those set by the International Climbing and Mountaineering Federation (UIAA) and the European Committee for Standardization (CEN), ensure that structural components undergo rigorous load testing.
Industry experts emphasize that the "DIY spirit" must have strict boundaries. While a rope tarp or a stick clip does not hold a climber’s weight during a fall, items like cams, bolts, and harnesses are engineered to specific fracture thresholds. Manufacturers spend millions on research, development, and catastrophic failure testing. The risk associated with attempting to replicate structural hardware far outweighs the potential financial benefit, as material fatigue, improper heat treatment, and lack of specialized quality control can lead to fatal consequences. Therefore, the current DIY movement is largely focused on "convenience gear"—items that manage the workflow at the crag rather than the structural integrity of the belay chain.
Practical DIY Solutions: A Breakdown
To demonstrate the feasibility of non-structural DIY gear, five specific items were constructed using components readily available at most local hardware retailers. Each project was evaluated for cost-effectiveness, utility, and long-term durability.
1. The Ice Tool Leash
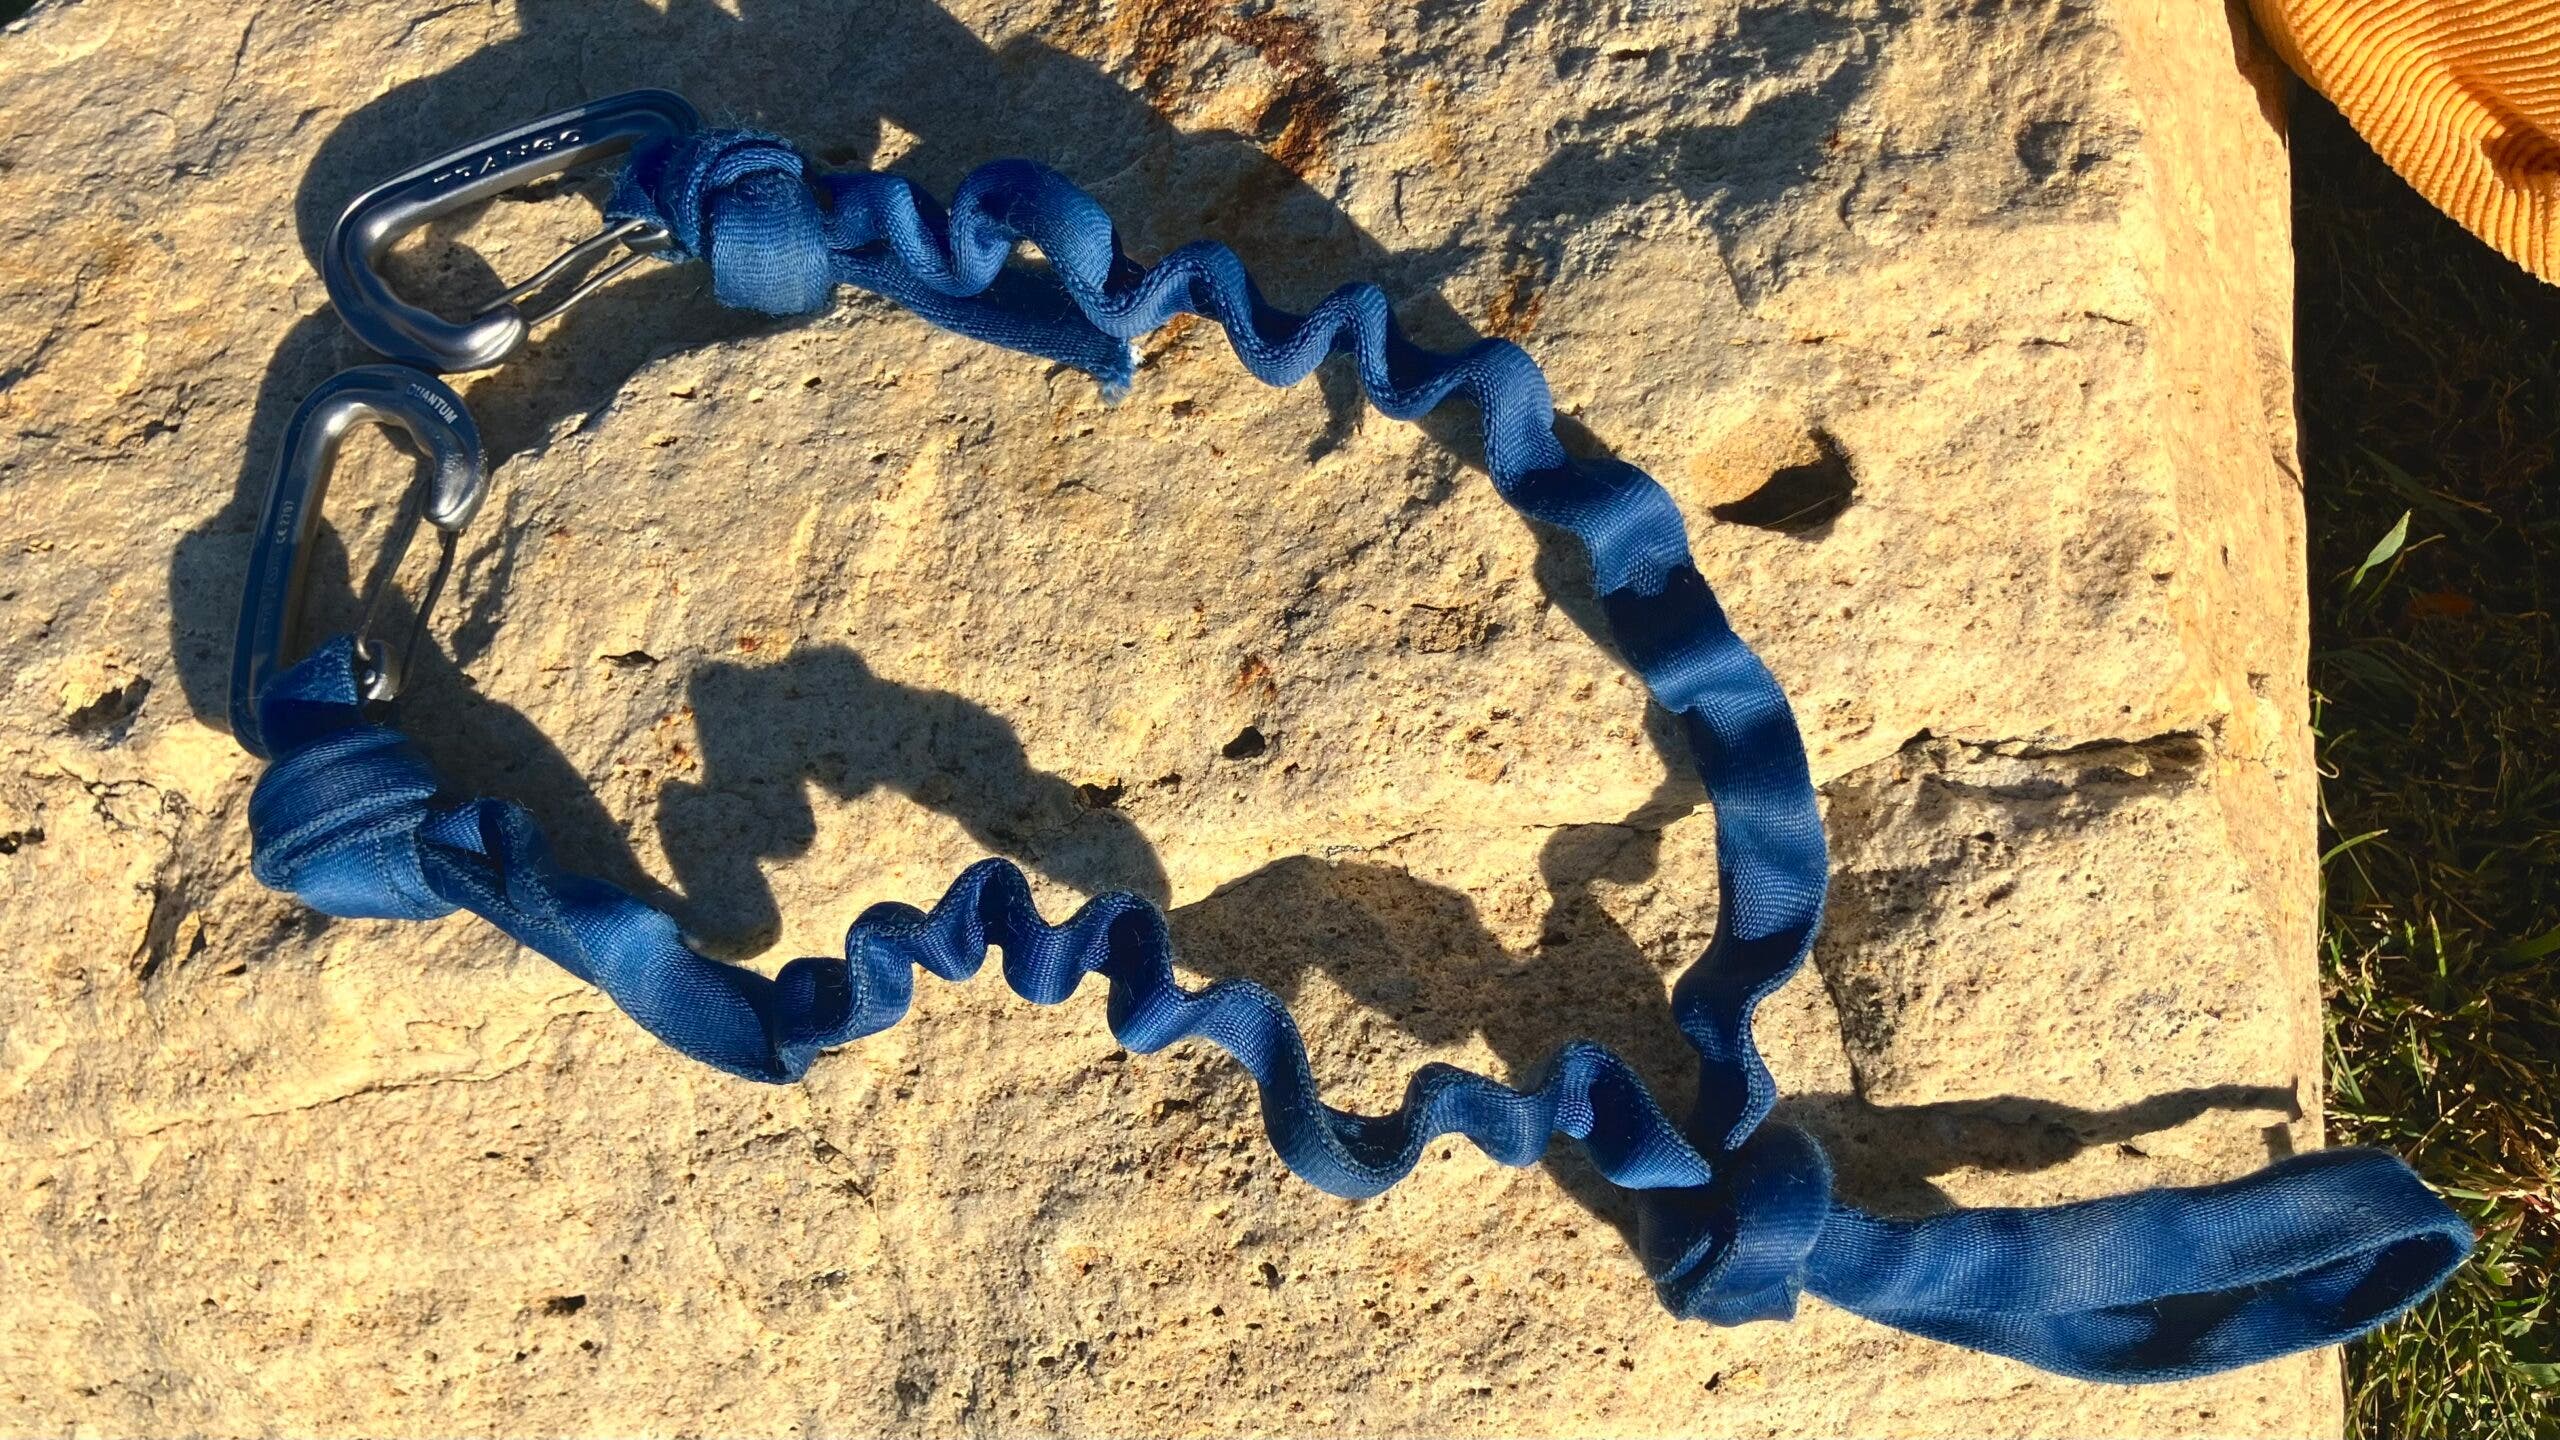
Ice climbing, by nature, involves high-consequence environments where dropping a tool can result in a stranded climber or a dangerous situation for others below. Commercial spinner leashes typically retail for between $40 and $80. By utilizing internal shock-cord, tubular webbing, and hardware-store-grade swivels, a functional leash can be manufactured for roughly $5. The primary mechanism involves creating an elastic bridge that allows for full range of motion while tethering the tool to the harness. The most significant challenge in this build is the internal routing of the shock cord through the webbing, a labor-intensive process that, if done correctly, yields a product nearly identical in function to premium retail alternatives.
2. The Nut Tool Tether
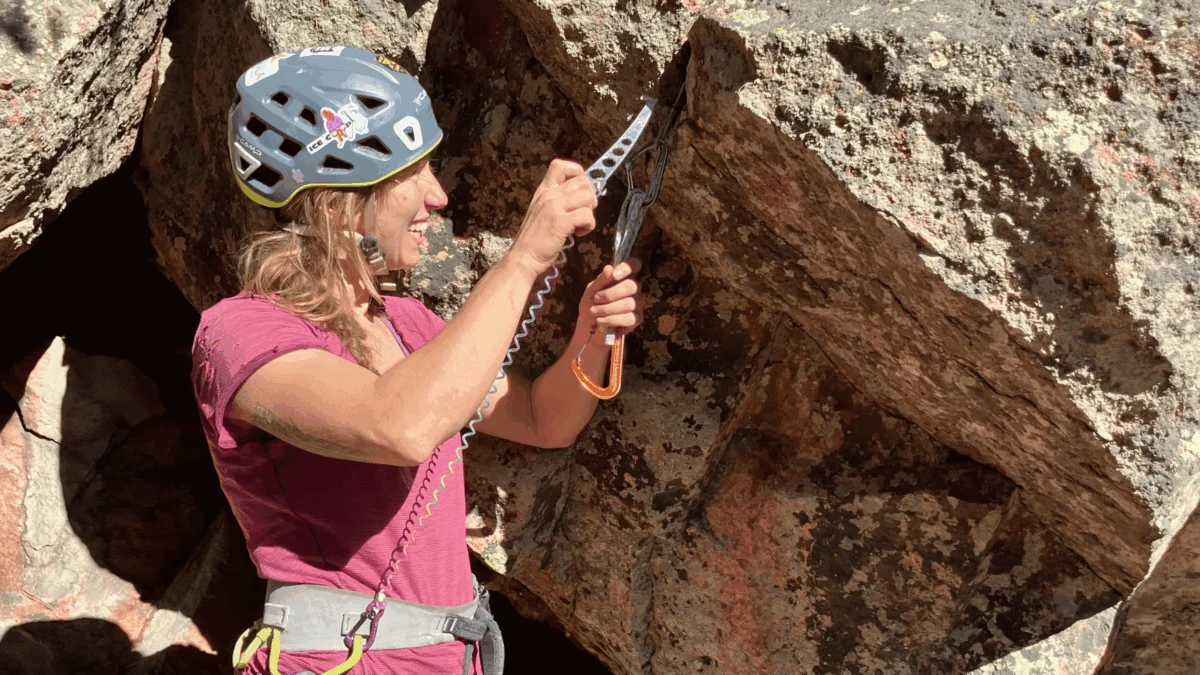
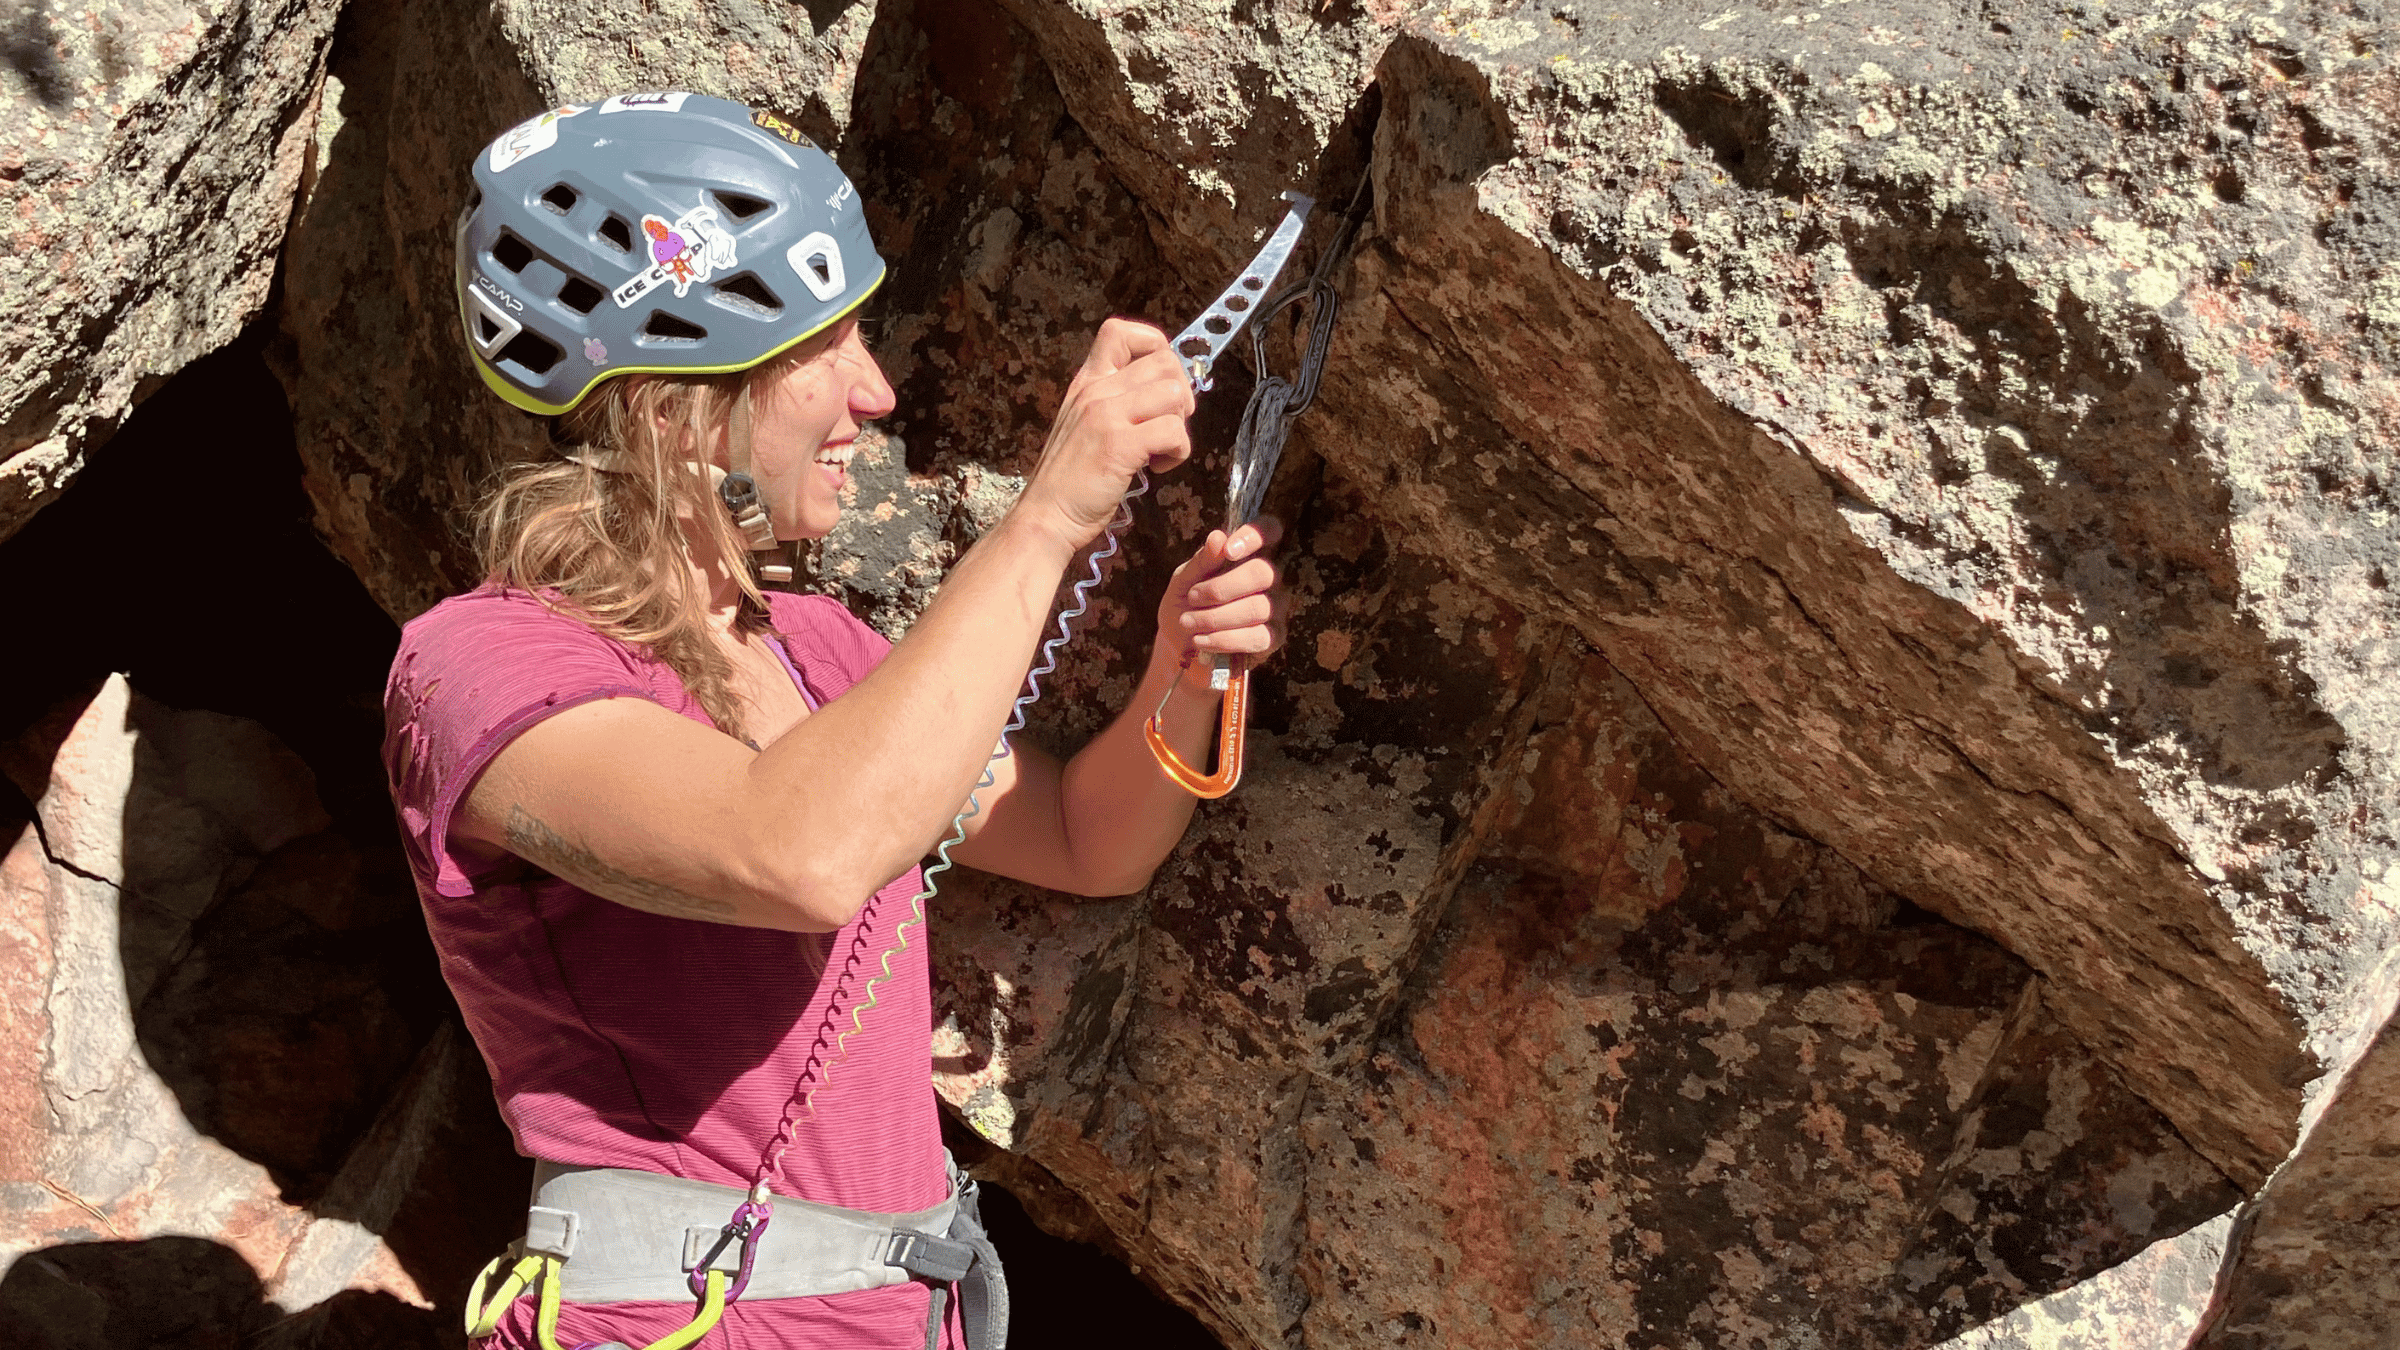
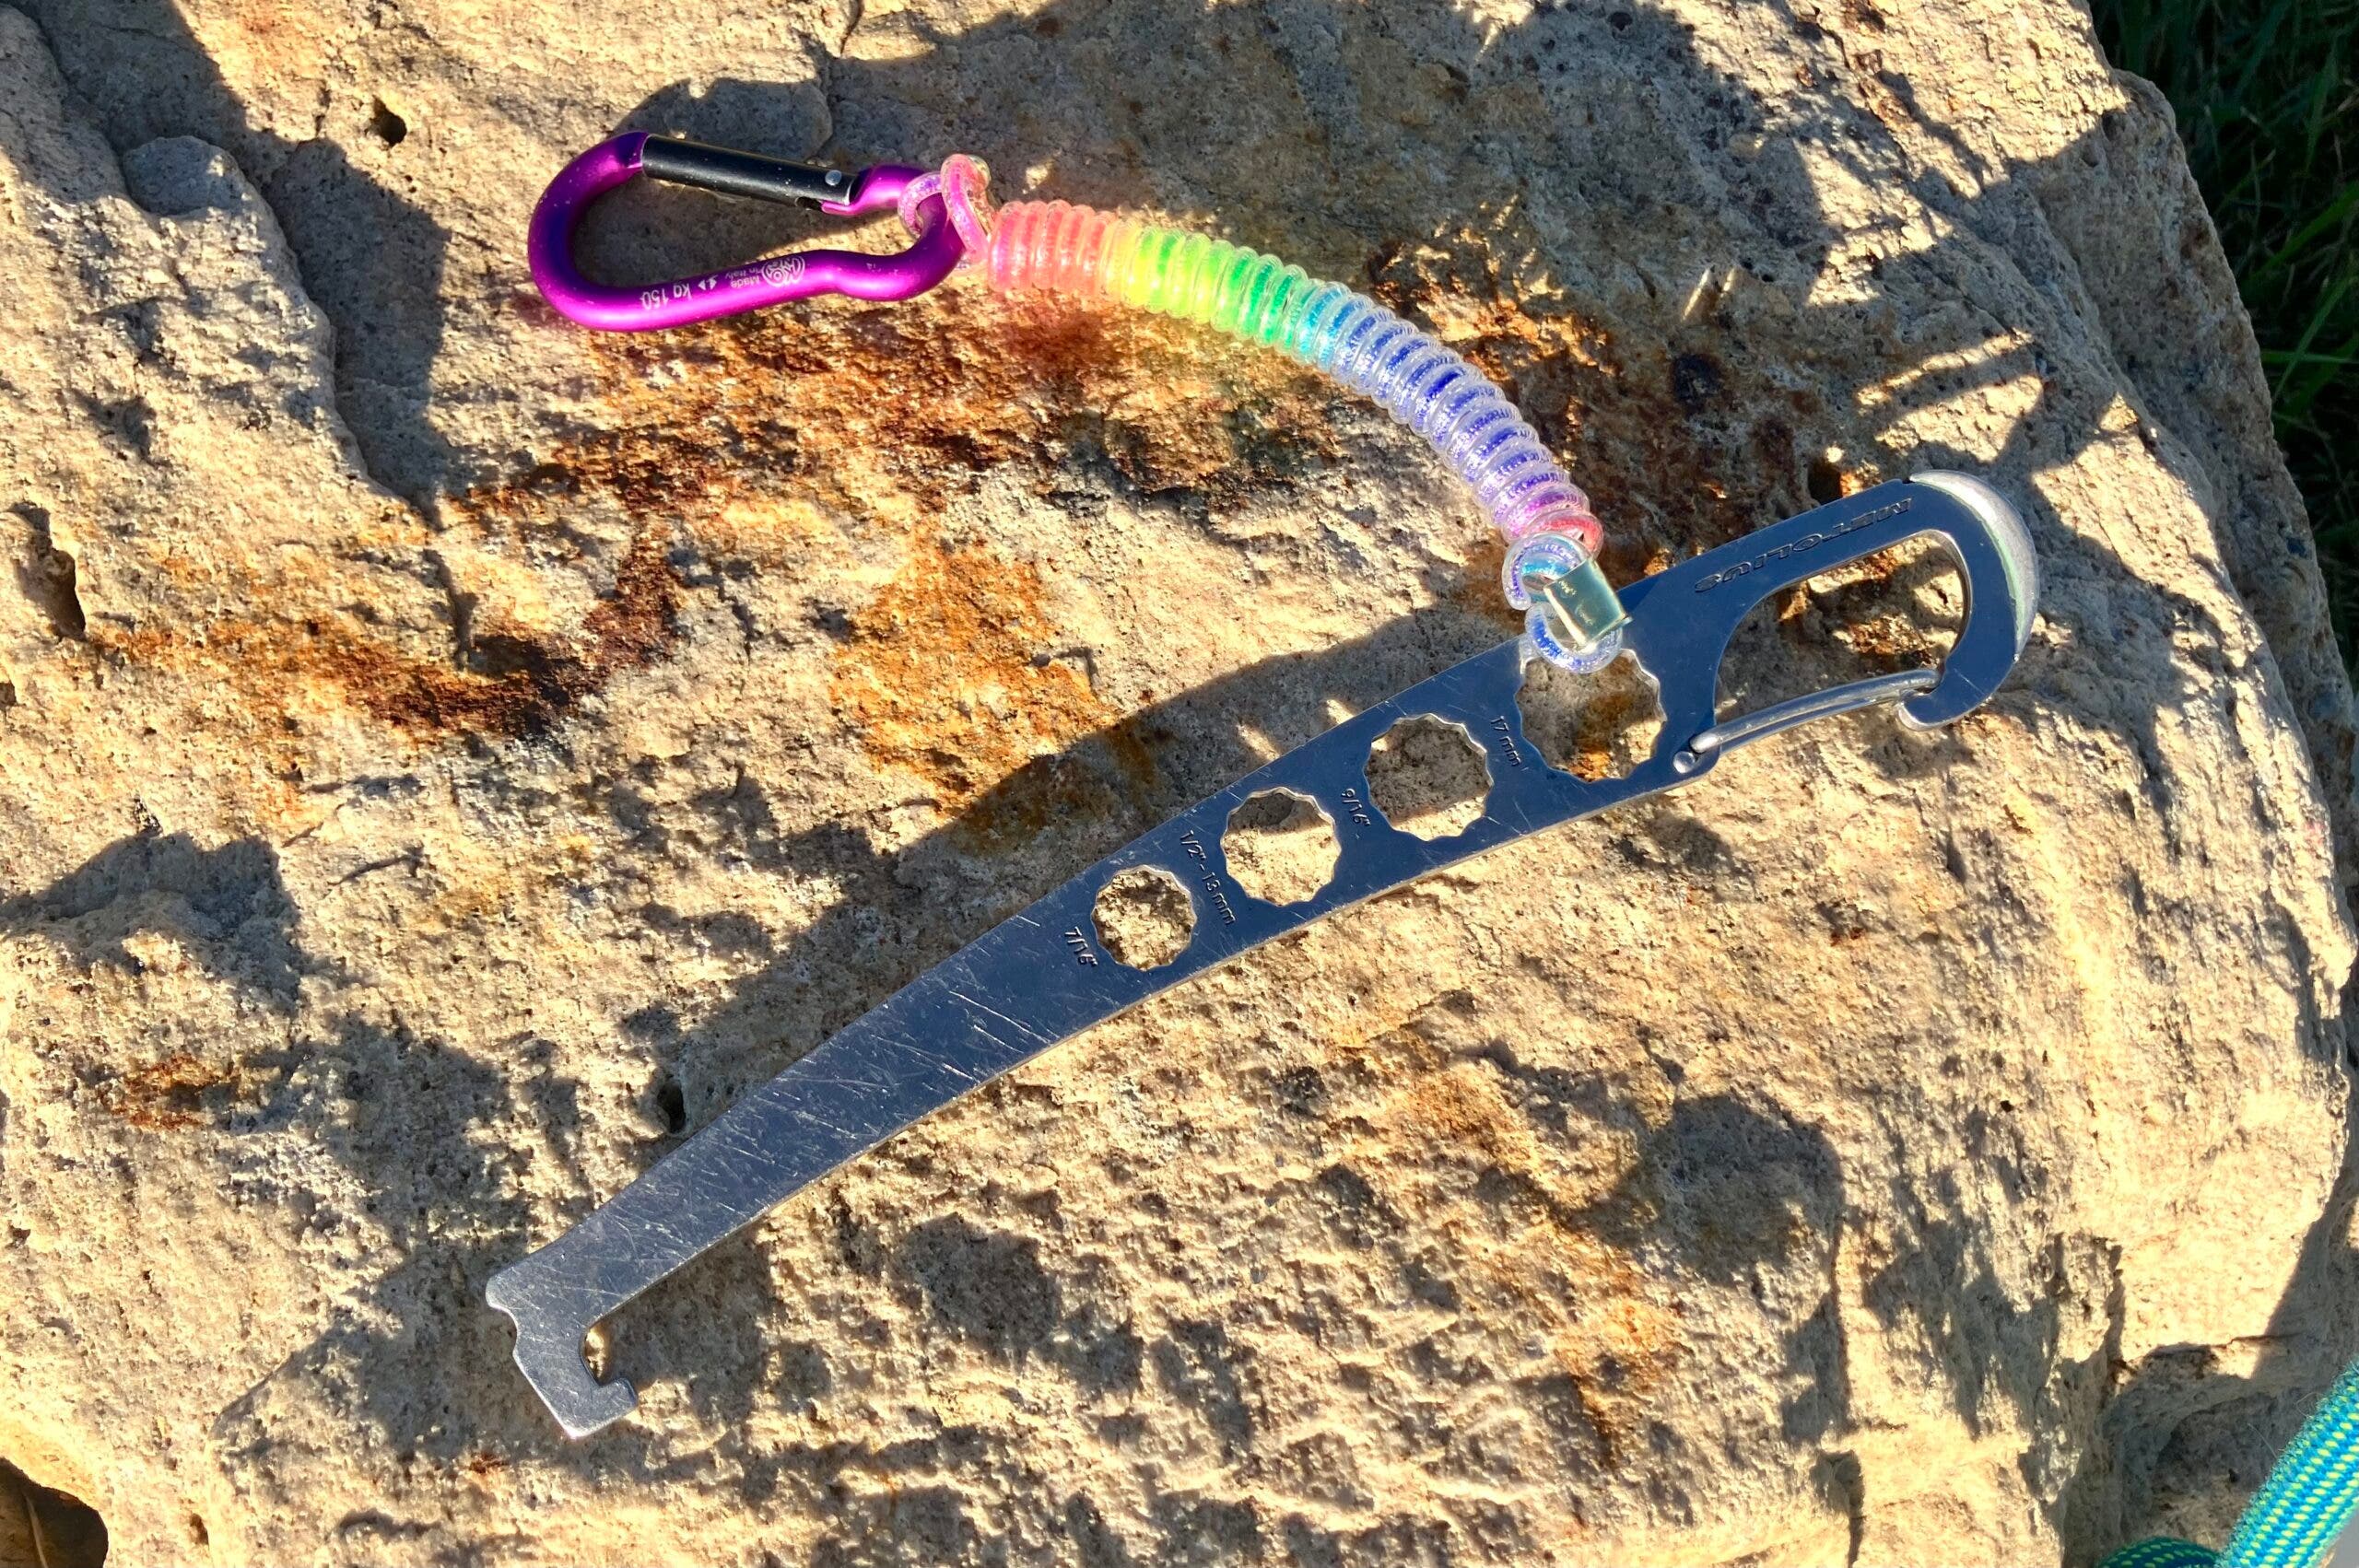
The loss of a nut tool—a device used for cleaning jammed protection—is a common nuisance for trad climbers. While some tools come with factory-installed tethers, many do not, and aftermarket replacements often lack durability. A spring-coil keychain, repurposed with electrical crimps and accessory cord, provides a robust, low-profile solution. The total cost is approximately $5, representing a significant reduction compared to the $15 to $20 retail price for specialized tool tethers.
3. The DIY Stick Clip
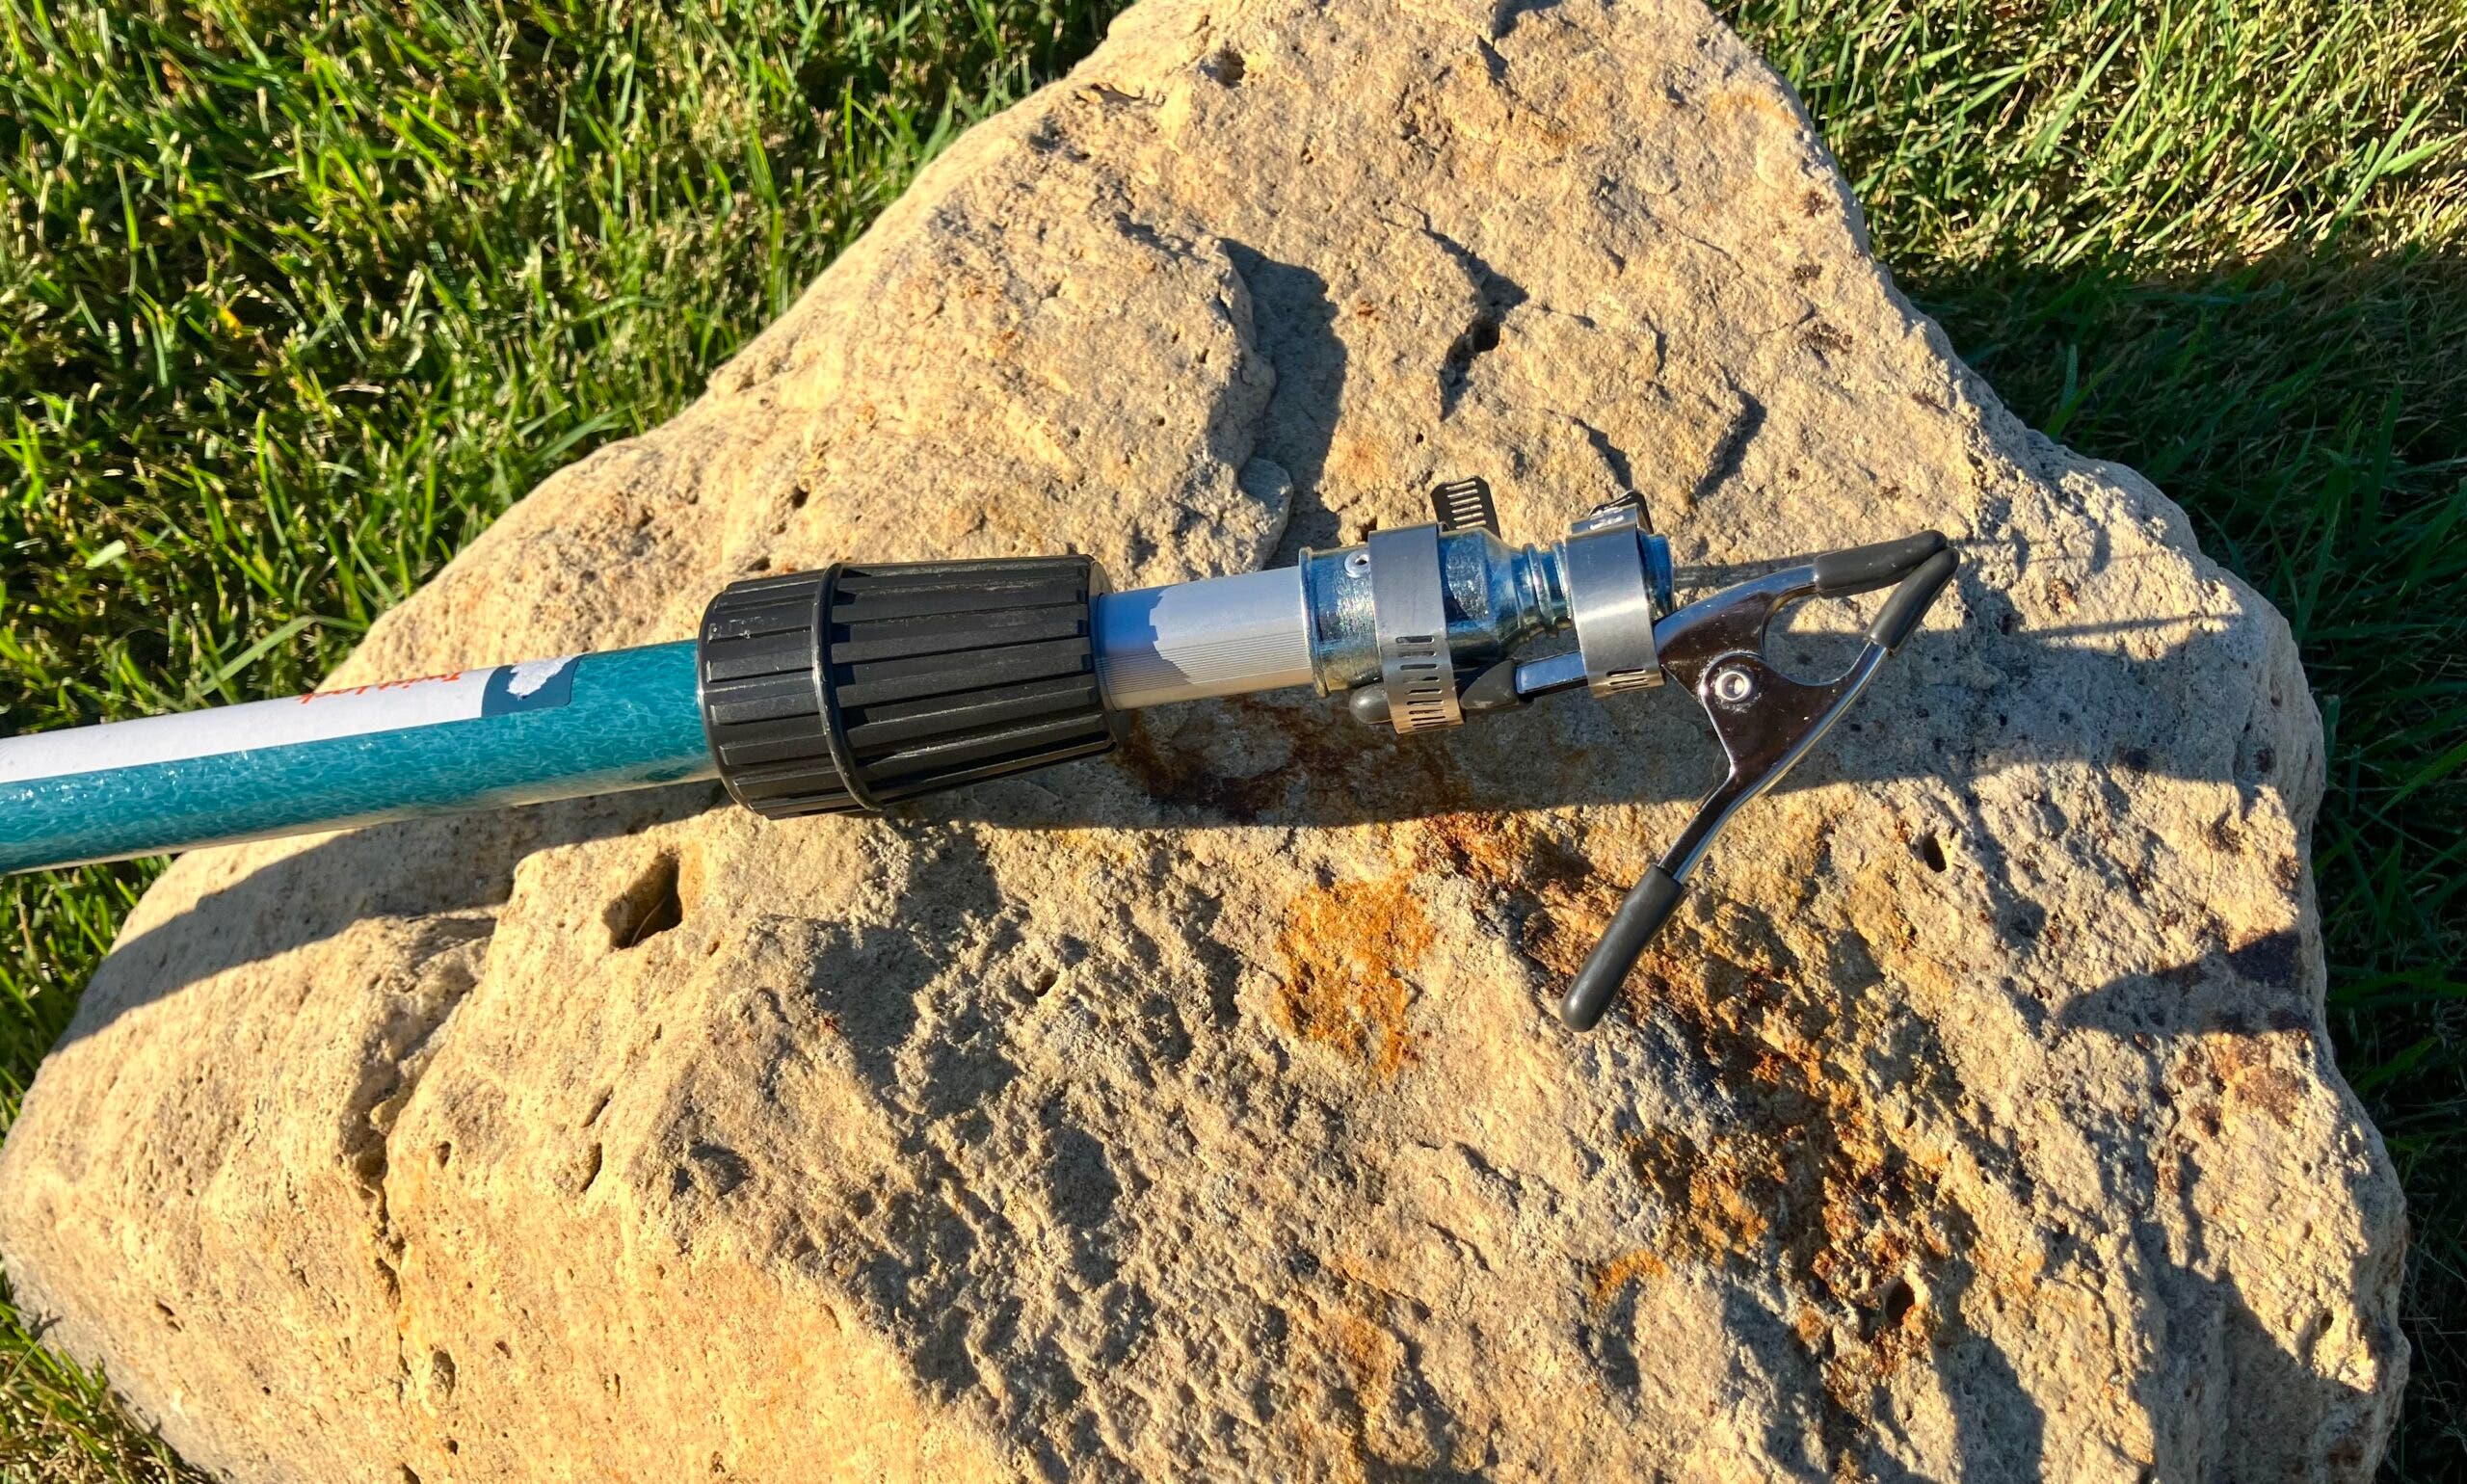
Perhaps the most polarizing piece of gear in the climbing community is the stick clip, a device used to clip the first or second bolt of a sport route from the ground. With retail models often exceeding $90, the cost-to-value ratio is frequently debated. By purchasing an extendable painter’s pole and modifying it with a spring-loaded clamp secured by stainless steel hose clamps, a climber can achieve a reach of up to 23 feet for roughly $25. This DIY approach not only saves over $60 but also allows for a more modular setup that can be disassembled for transport.
4. The Stiffy Draw
Designed for sport climbing, "stiff" quickdraws allow climbers to clip distant bolts that might otherwise be out of reach. Retail "panic" draws can cost upwards of $50. The DIY approach involves inserting heavy-duty housing wire into the hollow core of tubular webbing. By integrating this stiffened webbing with a trigger-wire carabiner, one can create a functional device for roughly $15. It is worth noting, however, that the rigidity of a DIY draw may not match the precision engineering of a commercial product, though it serves its intended purpose for training and non-critical reaches.
5. The Lightweight Rope Tarp
Maintaining the cleanliness of a climbing rope is essential for longevity, as grit and dust can act as an abrasive that compromises the sheath. A basic rope tarp, which acts as a portable ground sheet, can cost $25 or more. A DIY version, fabricated from a high-quality 2mm plastic drop sheet and reinforced with industrial shipping tape, costs less than $5. While it lacks the aesthetic appeal of a commercial tarp, it fulfills the primary function of keeping the rope out of the dirt, with the added benefit of being easily replaceable.
Industry Implications and Safety Considerations
The rise of accessible DIY tutorials via online forums and social media has created a new landscape for climbing equipment. While these projects offer financial relief, they also present a challenge to the established supply chain. Manufacturers are increasingly looking at ways to make gear more accessible, but they face the challenge of rising raw material costs and stringent safety compliance requirements.
From a liability perspective, manufacturers and professional guides generally discourage the use of any non-certified, user-modified gear. The risk of material degradation—such as UV damage to webbing or plastic fatigue—is often mitigated in commercial products through the use of specific, UV-stabilized materials and standardized manufacturing processes. When a user creates their own gear, they are solely responsible for the "certification" of that item.
Experts suggest that if the DIY trend continues, it may lead to a more bifurcated market: a high-end sector focusing on extreme performance and safety-certified hardware, and an "open-source" sector where the community shares designs for peripheral accessories. This shift could potentially force retailers to innovate, lowering costs on simple items to compete with the DIY community.
Conclusion
The DIY climbing movement is not necessarily a reaction against the gear industry, but rather a reflection of the sport’s resourceful roots. By focusing on non-load-bearing equipment, climbers can significantly reduce the overhead costs associated with the sport while gaining a deeper understanding of the mechanics of their gear. However, this practice requires a sober assessment of risks. The boundary between a clever hack and a safety hazard is defined by the function of the equipment. As long as the DIY focus remains on rope protection, tool management, and reach-assist devices, it serves as a viable, cost-effective way to enhance the climbing experience. For anything that holds a human life, however, the industry-standard, certified route remains the only responsible choice.